When it comes to designing a serene and inviting space, few decisions are as impactful as selecting the perfect paint color for your bedroom. Your bedroom should be a sanctuary—a place where you can relax, recharge, and feel at peace. The psychology of color reveals that different hues can influence mood, energy levels, and even sleep quality. Choosing the right shade can set the tone for restful nights and refreshing mornings.
Table of Contents
Why Paint MDF Cabinets?
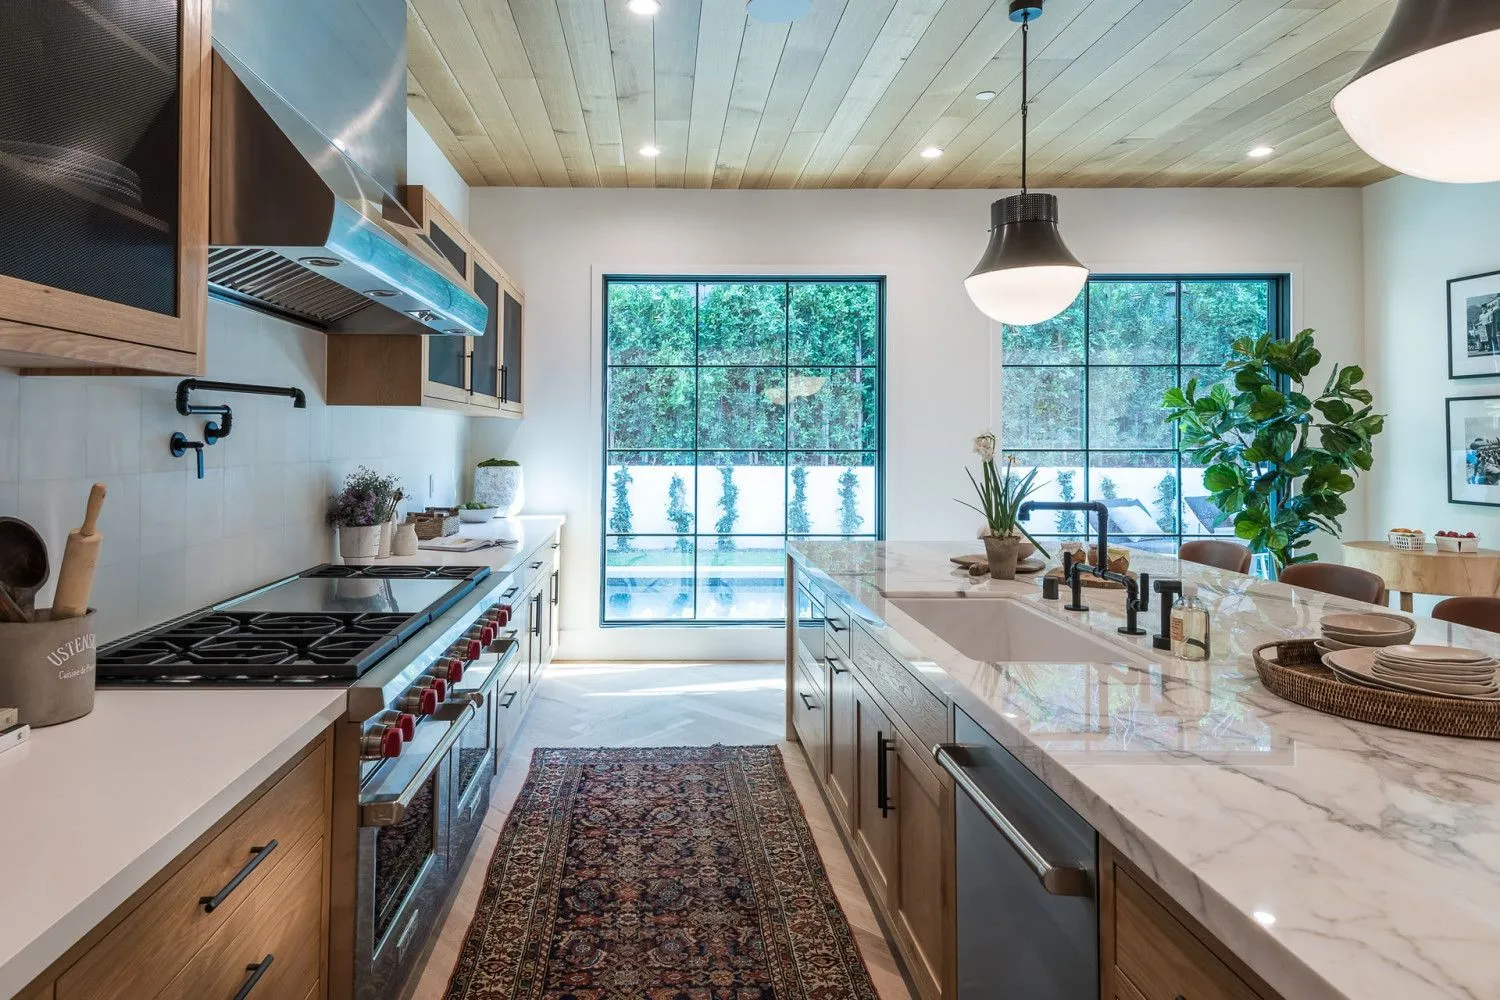
Painting your MDF cabinets is a cost-effective way to update your kitchen or bathroom without breaking the bank. A well-done paint job can make even budget-friendly MDF look high-end, increasing your home’s value and aesthetic appeal.

Tools You’ll Need to Paint MDF Cabinets
- High-quality brushes and rollers (look for ones labeled for smooth finishes)
- An orbital sander or sanding block
- Painter’s tape
- A good vacuum or tack cloth for dust removalk
Best Products to Use When You Paint MDF Cabinets
When it comes to MDF, not all paints and primers are created equal. Using the right products ensures your paint job lasts for years.
– Best Primer for MDF Cabinets

Sherwin-Williams – Extreme Bond Primer. This product is designed to adhere to challenging surfaces like MDF, creating the perfect no matter the type of paint that you end up using!

Sherwin-Williams – Extreme Bond Primer. This product is designed to adhere to challenging surfaces like MDF, creating the perfect no matter the type of paint that you end up using!
– Best Paint for MDF Cabinets

Sherwin-Williams – Emerald Urethane Trim Enamel. This paint provides a durable, smooth finish that can withstand daily wear and tear, making it ideal for cabinets.

Sherwin-Williams – Emerald Urethane Trim Enamel. This paint provides a durable, smooth finish that can withstand daily wear and tear, making it ideal for cabinets.
How To Paint MDF Cabinets
1. Preparation
Like any successful project, preparation is key. Skipping these steps could result in peeling paint or a streaky finish—nobody wants that!
- Remove Cabinet Doors and Hardware: Use a screwdriver to take off all doors, hinges, and knobs. Label each piece and keep them organized for easy reassembly.
- Clean the Surfaces: Thoroughly clean the cabinets with warm, soapy water or a degreaser. Pay extra attention to areas around handles where grease tends to build up.
- Sand the Cabinets: Use 120-150 grit sandpaper to lightly sand the surface, removing imperfections and creating a texture for the primer to grip.
- Seal the Edges: Apply wood filler or primer to the MDF edges to prevent moisture from causing swelling.
- Dust Removal: Wipe away all sanding dust with a vacuum or tack cloth to ensure a smooth surface.
- Tape and Protect: Cover walls, floors, and countertops with painter’s tape and drop cloths to prevent accidental splatters.
2. Painting
A professional finish is all about the technique. Here’s how to get those smooth, streak-free results:
- Prime the Surface: Apply a thin, even coat using a high-quality brush for edges and a roller for larger surfaces. Allow it to dry for 4-6 hours.
- Lightly Sand the Primer (Optional): For an ultra-smooth finish, lightly sand the primed surface with 220-grit sandpaper, then remove the dust.
- Paint the Cabinets: Apply thin coats, starting with a brush for detailed areas, followed by a roller for flat surfaces. Allow 6-8 hours of drying time between coats.
- Inspect and Touch-Up: Once the final coat is dry, inspect the cabinets under good lighting and touch up any imperfections with a small brush.
3. Clean-Up:
A clean workspace makes for a polished end result.
- Clean Your Tools: Rinse brushes and rollers immediately with warm, soapy water. If you used oil-based products, clean with mineral spirits.
- Remove Tape and Drop Cloths: Carefully peel off painter’s tape at a 45-degree angle while the paint is slightly tacky to avoid peeling up dried paint. Fold and shake out drop cloths outdoors.
- Reattach Doors and Hardware: Once the paint is fully cured (typically 7-10 days), reattach cabinet doors and hardware, ensuring proper alignment.
- Final Touch: Give the cabinets a gentle wipe-down with a soft, damp cloth to remove any remaining dust or smudges.
Common Mistakes to Avoid When You Paint MDF Cabinets

A professional finish is all about the technique. Here’s how to get those smooth, streak-free results:
- High-quality brushes and rollers (look for ones labeled for smooth finishes)
- Painter’s tape
- High-quality brushes and rollers (look for ones labeled for smooth finishes)
- Painter’s tape
The Benefits of Hiring Professionals to Paint MDF Cabinets
A professional finish is all about the technique. Here’s how to get those smooth, streak-free results:
- Expertise: Our painters are trained to handle tricky surfaces like MDF, ensuring a flawless finish.
- Efficiency: What might take you days (or weeks) can often be completed in a fraction of the time.
- Quality Products: We use premium Sherwin-Williams products for a long-lasting result.
- Warranty: We stand behind our work, giving you peace of mind.


Get a Free Quote Today
Ready to give your cabinets a makeover? Whether you’re a DIY enthusiast or prefer leaving it to the pros, we’re here to help. Contact BLUE Painting for a free, no-obligation quote, and let’s turn your vision into reality. Visit elite.com to learn more and schedule your free quote today.


